Connection to shop systems
The item data displayed in the planners (name, dimensions, prices) can be read by a shop system server. Completed plans can be returned as individual items to the shop system/shopping cart on the website.
We have been programming furniture planners and terrace planning programs for many years, for interior and exterior furnishing planning, as well as special applications such as hospitality or control center planners. We create our planning programs and configurators 100% customized for each customer from a variety of proven function modules.
Give your customers the opportunity not only to select items based on images and texts, but also to configure them intuitively, put them together interactively in a 2D planning or experience them realistically in a 3D view from all sides.
The actual planning usually takes place in a 2D floor plan representation; the planning size can be freely chosen. A 3D representation of the planning is optional and depends on the availability of 3D files of the items. Many functions in the background ensure smooth communication with the website server or the eCommerce/CMS system in order to read in current item data and prices at any time and add the placed items to the shopping cart.
We place great importance on a simple, intuitive planning process so that every user can quickly create an appealing and accurate compilation of their desired items. This is ensured by the interactive placement of items via drag & drop in the floor plan view, the preview of the overall layout in the 3D view, and a direct ordering option (or the request for a quote) in the “Item List” section. We use the following operating concepts and functions for this purpose ([BASIC] features are included in all planners, [PLUS] features can be activated individually):
 All menu items, button labels, and article information are stored in both German and English by default. Either German or English can be preselected as the planner's default language. The language can then be switched either directly in the planner itself using a button or when the planner is started using a URL parameter.
Translations of the planners into other languages (in addition to German and English) are possible, but the translated texts must be provided by the customer and the finished planner must be proofread and approved by the customer.
The basic settings for a planner (e.g., language version, currency units, special product ranges per region) can be configured using URL parameters. This makes it possible to use the same planner files for different display versions (German/English, UK/US/EU).
For example: open the Cane-Line planner with the German user interface ("dom=de") and display the content for consumers ("user=C"):
https://cl-planner.com/?dom=de&user=C
Open the same planner with the English user interface ("dom=en") and display the content for business users ("user=B"):
https://cl-planner.com/?dom=en&user=B
Additional URL parameters can be used to specify further start settings for the plan, e.g. whether end customer prices should be visible, whether a product or collection should be active right from the start, and much more.
Product information, including prices, can be read from a CSV file located on the same server as the planner itself when the planner is started. It is the customer's responsibility to keep these CSV files up to date.
Product information and prices can be retrieved from online shop systems (Shopify, Shopware, ...) via API calls when the planner is launched. These API calls must be programmed individually, as their syntax and functionality vary greatly from system to system.
The user's interactions during planning can be transferred to analytics frameworks using so-called “custom events” and thus evaluated in any detail.
The units of measurement displayed in the planner can be changed by the user from cm/m to inch/feet at any time, regardless of the active display language of the planner.
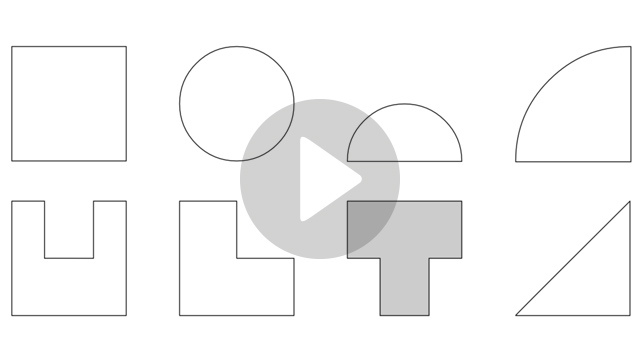 The floor space of the plan can be freely defined within the framework of predefined basic shapes. All corner points of the basic shapes can be freely adjusted.
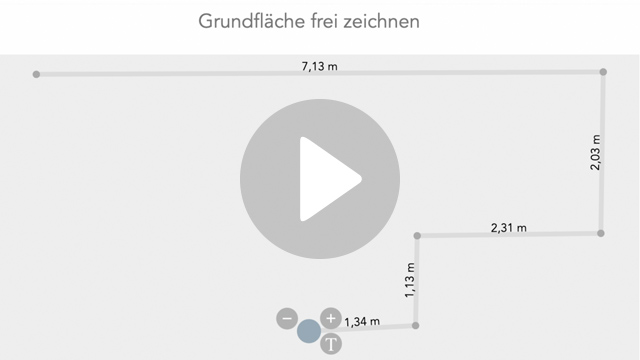 The outer edge of the floor plan can be drawn freely by adding, moving, or deleting any number of corner points. The walls are created automatically and their dimensions are displayed.
The floor plan in the 2D view shows all placed elements in a top view. You can zoom in and out and move the visible section.
The entire planner can be switched to full-screen mode, making it easy to use even on devices with smaller screens and without distractions.
The 3D view of the design can be freely adjusted by interactively rotating, moving, and zooming the camera, either with mouse clicks or touch gestures on mobile devices.
In the 3D view, there are 4 predefined surfaces to choose from for displaying the floor.
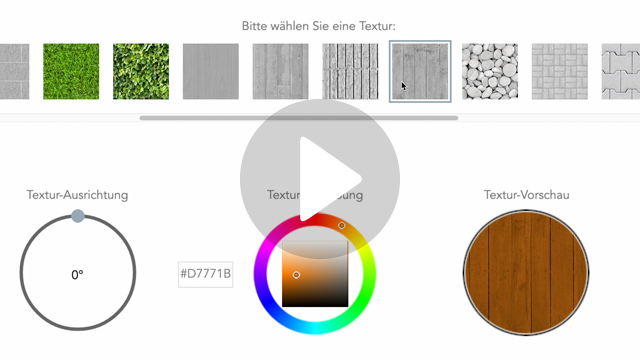 In the 3D view, additional options are available for coloring and/or texturing the surface to represent the ground.
In the 3D view, you can switch to full-screen mode to generate a larger and more detailed rendering, which can then be exported as an image file.
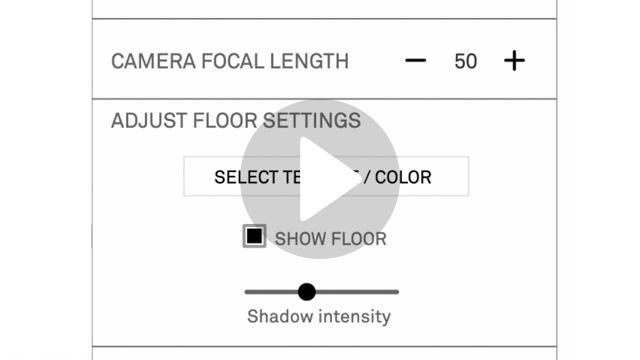 A 3D settings dialog provides optional functions for calculating the 3D view. These include light height and shadow intensity, the camera focal length (“FoV” - Field of View) and the option to save all current settings for the 3D view and restore them later, making it easy to switch between different viewpoints.
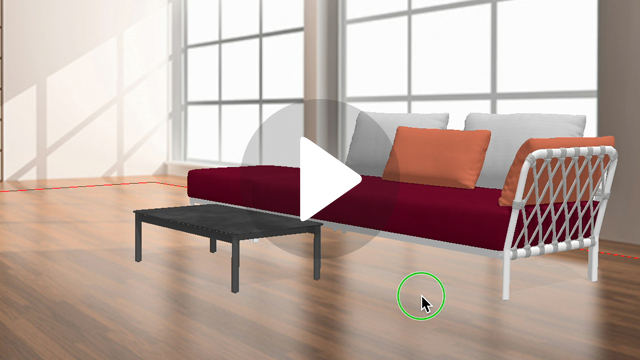 The “AR” (augmented reality) mode can be activated in the 3D view. In this mode, either a photo from the user's device can be uploaded as a background image for the 3D view of the plan, or the live image or still image from the webcam (if a camera is available). The 3D scene can then be rotated/moved in front of this background image so that the perspective matches perfectly. This allows you to create very atmospheric representations of the future layout, e.g., a seating area in a living room.
All products used in the planning are listed in a table, with product image, description, options, quantity, and (if prices have been imported) the unit price and total amount.
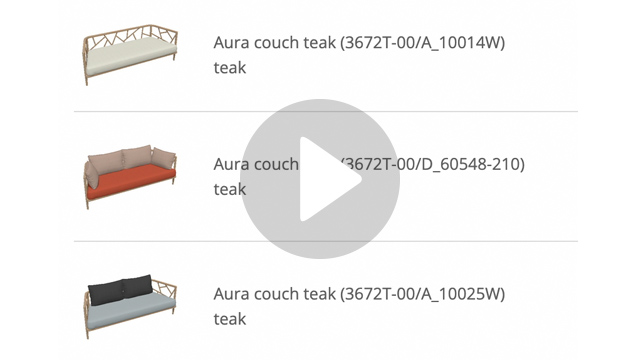 Instead of a fixed predefined product image, the image is dynamically rendered in the planner's 3D area, accurately displaying the selected parameters (e.g., frame color, upholstery, features, etc.) of the product in the item list and when printing.
To complete the planning process and send the information about the selected or configured products to the relevant department, either directly as an order or as a request for a quote, an email is generated that contains the item list, a screenshot of the 2D view, and a link to download the actual plan. This email is then supplemented with the data that the user must enter in the planner (name, email, phone number, etc.) and automatically sent to the customer's preset recipient email address.
In order to add the products from a plan directly to the shopping cart of the website's online shop, the planner can be connected to the online shop via an API interface, so that further ordering and payment processing takes place via the customer's regular online shop.
Hierarchical menus with up to three menu levels can be created, organized by category or collection name, into which individual products can be sorted (multiple times if necessary).
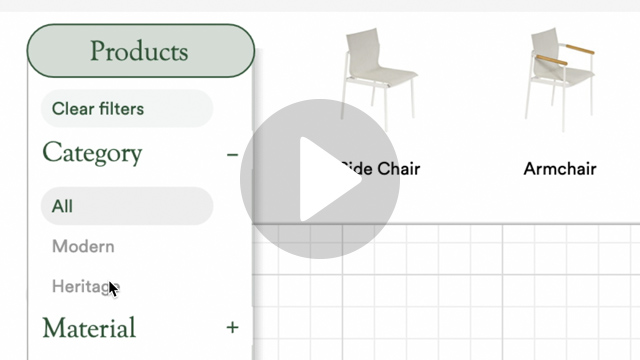 Additional filter settings can be used to preselect the items displayed in the menus, e.g. by color, material, or style.
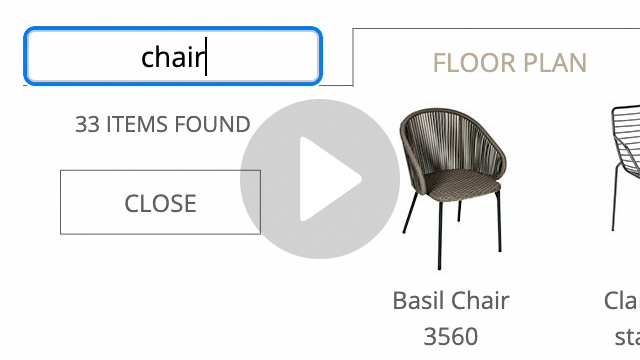 In addition to the item selection menu, a search field is integrated that enables free text searches by item name or item number. This ensures quick and easy access to products for “power users” who want to add a specific product directly.
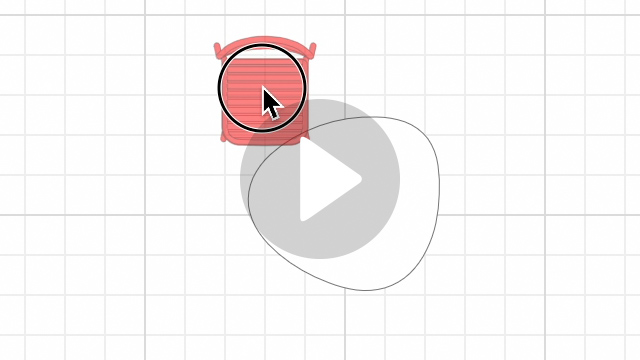 To place furniture on the floor plan design area, the user clicks on a product image, which immediately displays a 2D floor plan drawing of the product. As soon as the user drags and drops this drawing onto the planning area, a collision check is performed continuously with the furniture that has already been placed. This collision check prevents furniture from being pushed into each other or placed on top of each other, thus ensuring realistic room planning at all times.
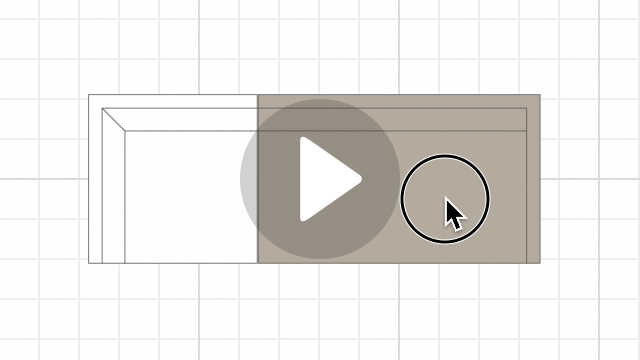 If products are marked internally as “magnetic,” their corners automatically align with each other when moved on the floor plan view if they are close to each other. This makes it quick and easy to create entire seating landscapes from modular sofa elements, for example.
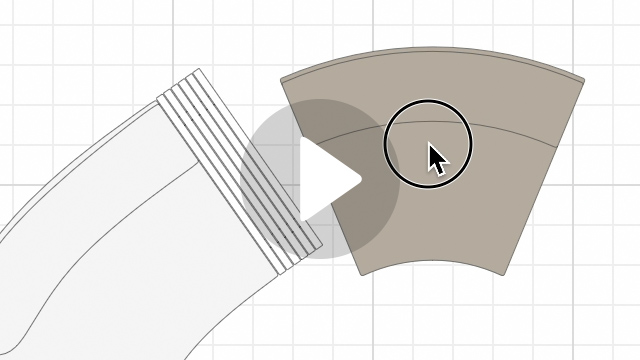 In addition to the basic magnet function, an intelligent magnet function can also be stored. Not only do the edges of the moved furniture align with those of the already placed element, but the correct rotation is also automatically set, e.g., for a sofa combination of elements across a corner.
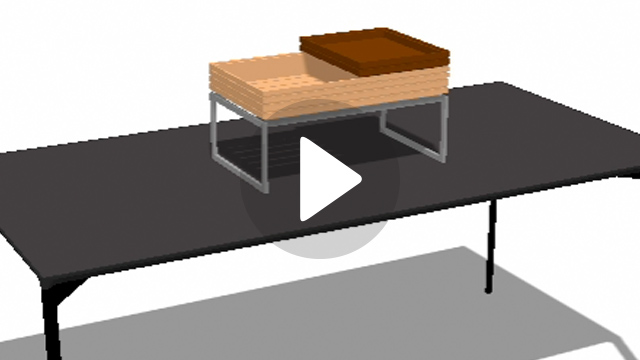 While collision control ensures that elements cannot accidentally overlap, this function can also be supplemented so that elements can be stacked. This allows the user to place table lamps on tables, for example, or to plan multi-level arrangements for serving stations.
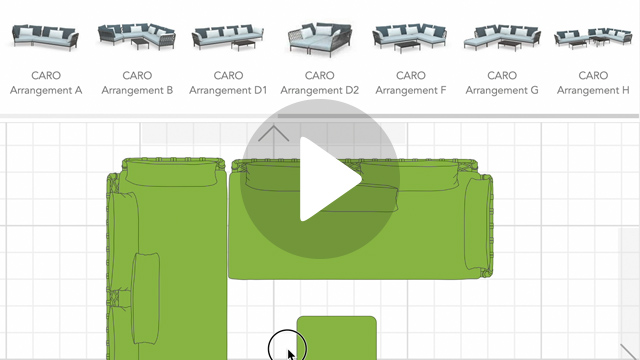 In addition to selecting individual pieces of furniture, preconfigured furniture groups can also be entered as items. This allows you to place an entire sofa arrangement, for example, in a single action. After placement, these groups “break down” into their individual elements, which can then be modified individually.
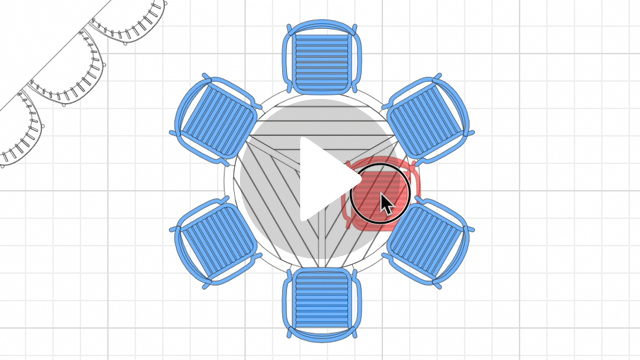 If a dining chair from the item preview area is dragged over a dining table that has already been placed, individually computed optimized placement positions around the table are shown, depending on the table size and shape. When the chair is dropped as this position, the user can confirm or cancel the auto-placement in a dialog box.
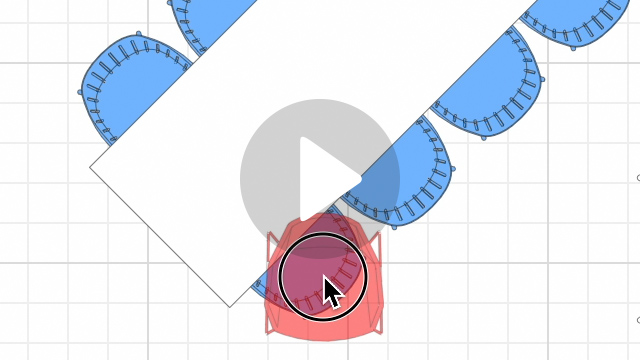 If a dining chair from the item preview area is dragged onto an already placed dining chair of another type, a blue replacement position is displayed instead of the red collision detection. When the chair is dropped at this position, the user can select in a dialog box whether they want to replace only this chair or all chairs of this type in the entire plan. This allows table arrangement variants to be created quickly and easily.
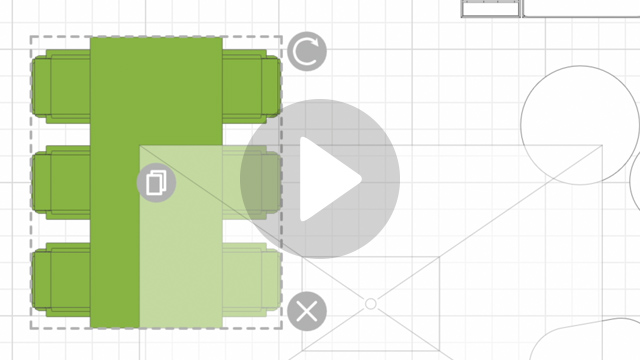 To activate a piece of furniture placed on the floor, the user can either click directly on the furniture (clicking while holding down the Shift key expands the selection) or draw a rectangle around several pieces of furniture with the mouse to quickly create a multiple selection.
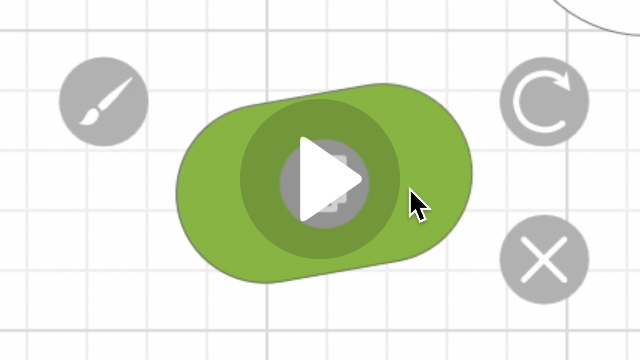 An activated piece of furniture on the floor plan is marked with an accent color, usually green. In addition, buttons appear around the selection boundary that can be used to perform actions such as rotating, duplicating, or removing. An activated element can be moved by simply clicking and dragging with the mouse or finger on mobile devices.
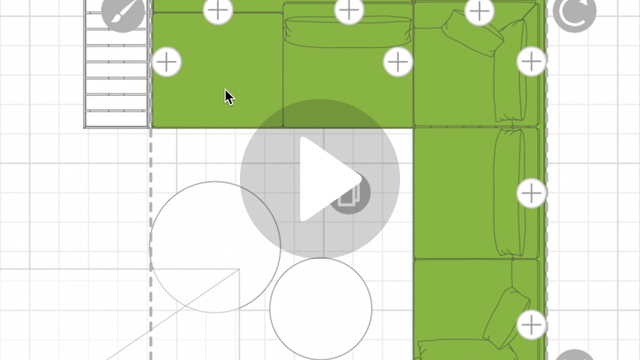 Double-clicking on a piece of furniture placed on the floor plan activates all furniture from the same collection or configuration throughout the entire design. This allows you to quickly create multiple selections, which can be used, for example, to change the upholstery color for all placed elements of a collection directly and uniformly.
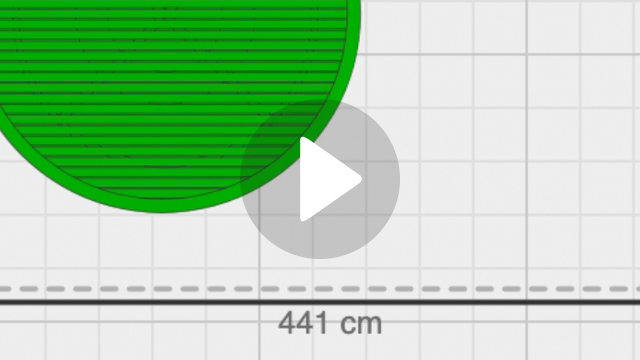 When multiple items are selected, the total dimensions of the selected area are calculated and displayed in the floor plan view in the currently active unit of measurement (cm/inch).
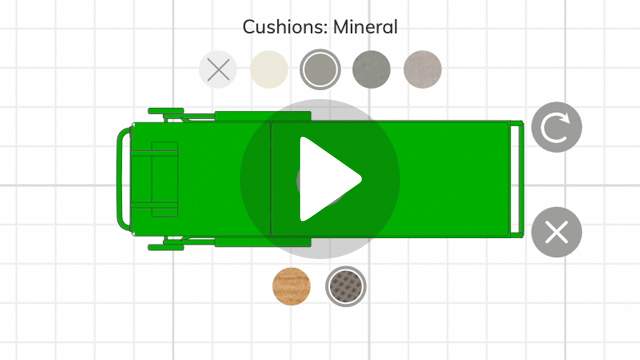 The basic and additional options for an item are selected directly in the 2D view using small color selection buttons below the product selection images (for selecting the basic option before placing an item) or above and below the floor plan drawing of an item (for selecting basic and additional options).
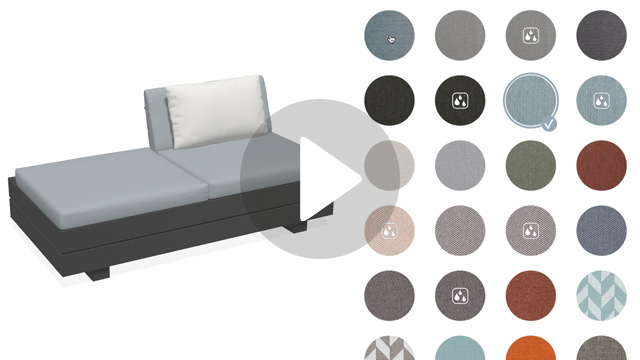 The basic and additional options for an item are selected in a separate dialog box, in which the item can be previewed in a 3D view with the currently selected parameters. This interactive preview can be rotated and zoomed (also in full-screen view). The product options are selected, organized by option, on the right-hand side using preview buttons and are supplemented by a text summary of the current item configuration.
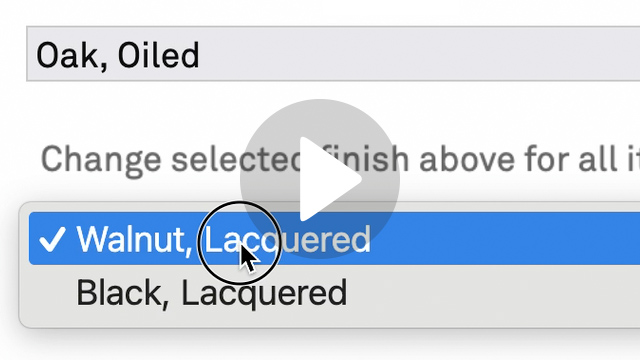 When multiple items are selected, the currently set options (e.g., frame material or upholstery color) are recorded and displayed in a selection menu. For each option selected, all alternatives for direct replacement are offered.
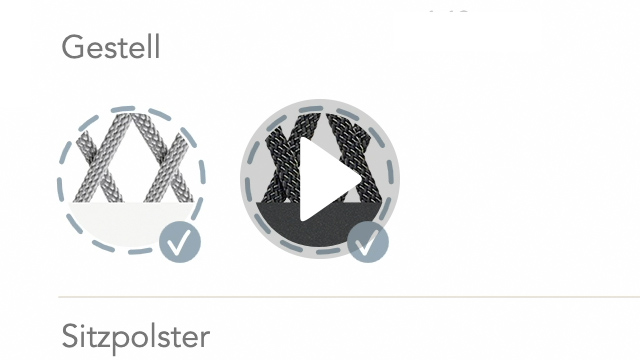 When multiple items are selected, the common options (e.g., frame material or upholstery color) for all activated items can be changed in a dialog box. This makes it possible, for example, to “recolor” entire sofa landscapes without having to edit all elements individually.
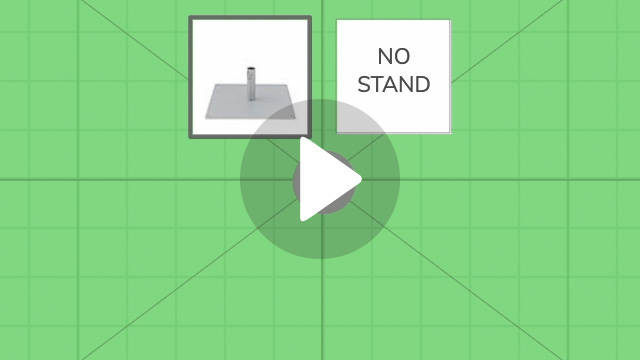 A basic article configuration includes up to 3 options per product (e.g., the selection of frame and tabletop material for a table). It is not possible to program configuration logic individually for a product (e.g., only certain combinations of frame + tabletop + table size).
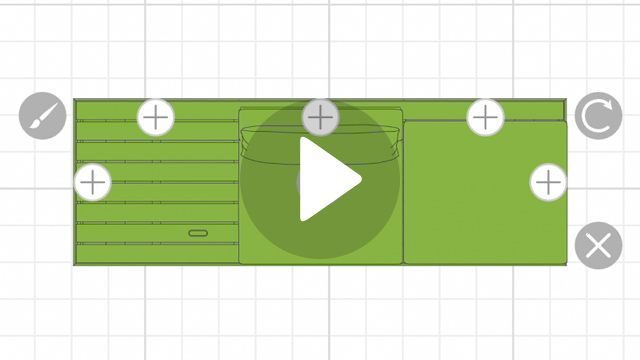 Integration of any individually programmed configuration options for individual pieces of furniture or furniture groups, from simple product additions (e.g., a swivel table with four possible positions attached to an upholstered corner unit) to complex assembly steps with interdependent color and finish options.
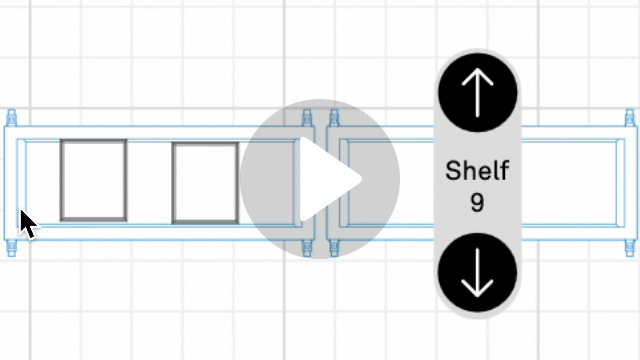 For items with multiple levels (shelves, trolleys), the active level for stocking can be selected.
The current plan is automatically saved in the background in the browser's “local storage” area on the user's device after each change. When the browser window is closed and the planner is later reopened in the same browser, the last saved plan is also automatically restored. This allows the user to seamlessly continue working with their last plan.
The current plan can be saved internally in the browser under any name. This is done in the browser's “local storage” area. However, plans saved in this way are only available as long as the locally stored browser data is not deleted by the user (“Clear Browser Data”). These plans are also only available in the browser and on the device on which they were saved, not on other devices or in other browsers on the same device.
The current plan can be saved as a text file under any name on the user's device. This text file can then be archived, shared, and, of course, loaded back into the planner later.
The current plan is stored in a database on the planner's web server, and the user receives a web link with a “token” (access code) to this database. This web link can then be used to load the plan on any other browser/device. This makes web links ideal for sharing plans via email, messenger, or Teams.
The current floor plan can be saved as a PNG graphic file. This graphic file can then be imported into any drawing program and edited there, e.g. for visualization in presentations and offers.
The current floor plan can be saved as an SVG vector file. This vector file can be imported into any drawing program, where it can be scaled up or down without loss of quality and further edited, e.g. for visualization in presentations and offers.
The list of items used in planning can be saved locally on the user's device as a CSV file (comma-separated values in a text file). This CSV file can then be imported into other programs (ERP, order management) and processed further there.
The entire 3D representation of the current design, including the textures used, can be saved locally on the user's device as a large OBJ file (with associated MTL file and texture files). Alternatively, export to GLTF format is possible. These exported 3D files can be imported into any 3D program and supplemented or further edited there, e.g., for high-quality renderings or animations.
A plan previously saved internally in the browser is loaded and replaces the current plan.
A plan previously saved as a text file on the device is loaded and replaces the current plan.
A plan previously saved in a database on a server is loaded and replaces the current plan.
A plan stored in a local text file or in a database on the server can be imported, i.e. added to the existing plan. This allows you to create “modules” or “libraries” from preconfigured article groups, which can then be used to quickly and easily expand the current plan.
To print out the items used in the plan, a separate HTML page is generated in the browser, which, in addition to the item list (with images, description, quantity, and prices, if applicable), also contains a screenshot of the planning area and the last 3D view called up. This HTML page can then be printed out normally from the browser or saved as a PDF file.
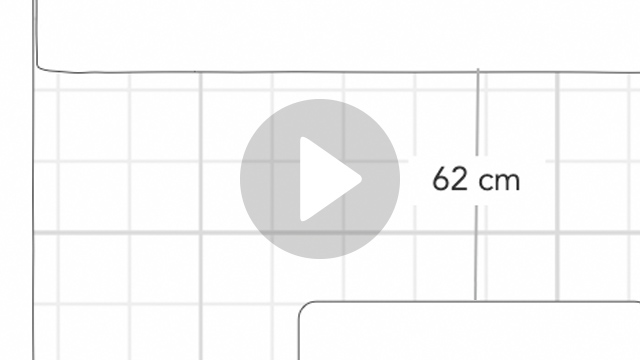 The user can draw any dimension line in the 2D view of the plan, and the corresponding distance is calculated and displayed in the selected unit of measurement (cm or inch).
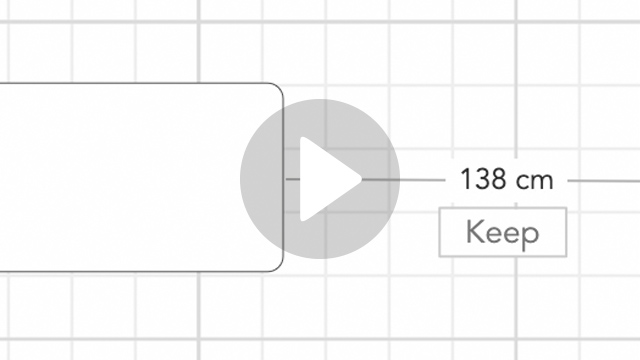 A dimension line drawn by the user can be fixed to make it permanently visible. Fixed dimension lines can be deleted at any time.
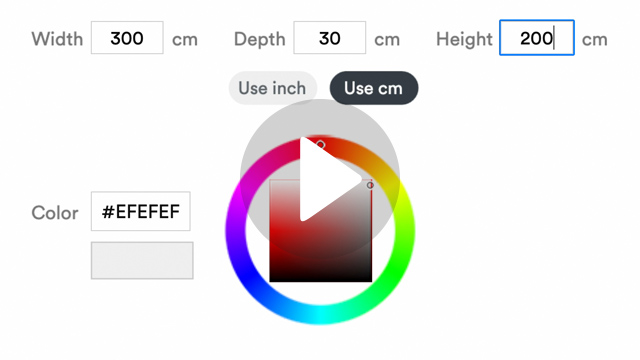 The basic geometric solids “cube” and “cylinder” can be placed in the design. By adjusting their dimensions and surface color, simple room elements such as walls, columns, or hedges can be simulated.
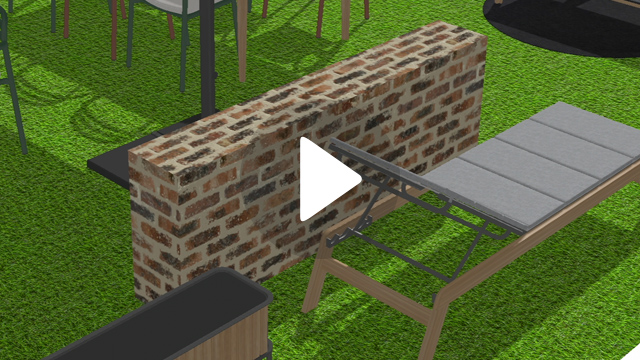 The surface of the geometric solids can be covered with a texture and colored to visualize pool surfaces, wood paneling, or stone walls, for example. In addition, the transparency of the surface color can be adjusted to represent glass walls and windows.
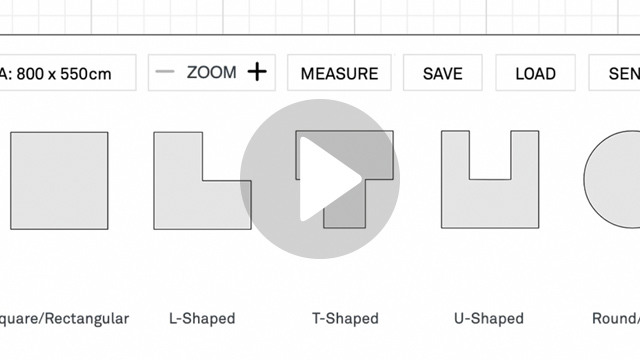 In addition to the basic geometric solids, volumes can be created using basic shapes (similar to the basic floor shapes), whose edges and height can then be freely determined.
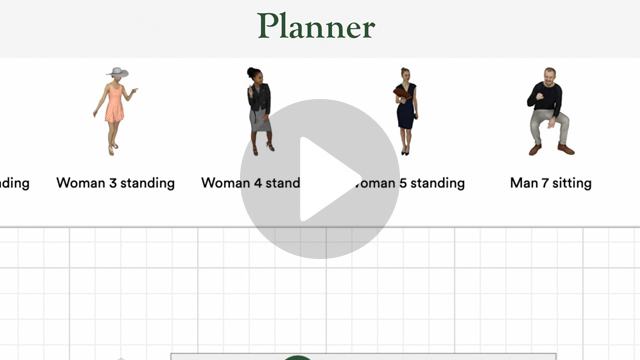 Pre-rendered 3D figures can be placed in the design to serve as extras, making the 3D view more lively and allowing for size comparisons with furniture. The figures themselves are static.
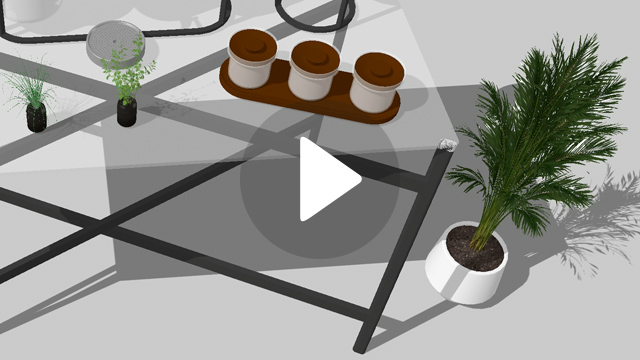 Plants of all sizes can be added as decoration. For smaller plants (e.g., flower vases as table decorations), simple 3D models are used, while for larger plants (bushes, trees), pre-rendered 2D views are used and the 3D appearance is only simulated.
The planning steps of the current browser session can be undone individually with the click of a button.
The programming is based entirely on JavaScript, with Canvas technology used for 2D planning and WebGL technology for 3D display. This allows the planners to run in all common browsers on all systems—from desktop PCs and iMacs to laptops, MacBooks, and mobile devices (iOS and Android).
A planning program is usually integrated into your website via an iFrame, which is embedded in a higher-level page of your website. However, complete integration into a subpage as a “DIV” element is also possible.
In addition to the user interface for simple and intuitive planning, other background processes can be integrated “under the hood” of a planner to ensure the most comprehensive and seamless integration of the planner into your workflow:
The item data displayed in the planners (name, dimensions, prices) can be read by a shop system server. Completed plans can be returned as individual items to the shop system/shopping cart on the website.
Plans can be stored centrally in a database on a server. This makes it easy to share (send) plans across devices and users.
For printing, an HTML page can be created based on any template that, in addition to the image of the floor plan (or the 3D representation), also contains a company logo, an item list with prices or other additional information.
In addition to 2D floor planning and 3D visualization, overview lists of the placed items can also be displayed, sent and printed. This allows additional data, such as dimensions or color names, to be easily integrated.
A plan can also be sent to the host by email if a shop system connection is not possible or desired. All planning data and articles are recorded and the planning can also be read in and displayed again on the host system.
Completed plans can be sent by email or via server scripts from the creator of the plan to other email addresses. If the link in the email is clicked, the planner page opens directly and the planning is automatically loaded and displayed.
When sending a plan, an import script can be created so that the items in the plan can be imported directly from the email into a 3D program such as Blender or Autodesk Inventor® and further processed there.
Apart from the convenience for your customers (online planning & ordering, requesting quotes), a planner also offers internal added value for your company—locally for consultation at the POS terminal, for illustrating offers, or for planning trade fair stands and product photo shoots.